If you are not yet setup the development environment. Check the last post.
http://edisontus.blogspot.jp/2014/01/getting-started-with-development.html
I am going to guide you how to make LED blink (turn on and turn off) in every 1 seconds with BGScript.
Create 3 config files (gatt.xml, hardware.xml, project.xml)
Every file have it’s own function and contains the information needed when compile to binary file. These 3 files are config files that is needed and you must always remember to import these in every project. What you needs to do is copy following source code and paste it.
hardware.xml is configuration file that related to ble112 hardware configuration.
<?xml version="1.0" encoding="UTF-8" ?>

<hardware>
    <sleeposc enable="true" ppm="30" />
    <usb enable="false" endpoint="none" />
    <txpower power="15" bias="5" />
    <usart channel="1" alternate="1" baud="57600"  endpoint="api" />
    <wakeup_pin enable="true" port="0" pin="0" />
    <port index="0" tristatemask="0" pull="down" />
    <pmux regulator_pin="7" />
</hardware>
gatt.xml exposes the Bluetooth services and profiles.
<?xml version="1.0" encoding="UTF-8" ?>
<configuration>

    <service uuid="1800">
      <description>Generic Access Profile</description>

      <characteristic uuid="2a00">
        <properties read="true" const="true" />
        <value>BG Demo</value>
      </characteristic>

      <characteristic uuid="2a01">
        <properties read="true" const="true" />
        <value type="hex">4142</value>
      </characteristic>
    </service>

    <service type="primary" uuid="9000" id="manufacturer">
        <characteristic uuid="9100">
            <properties read="true" const="true" />
            <value type="hex">000780c0ffeef00d</value>
        </characteristic>
        <characteristic uuid="9101">
            <properties read="true" const="true" />
            <value>modelnumber</value>
        </characteristic>
        <characteristic uuid="9106">
            <properties read="true" const="true" />
            <value>Bluegiga</value>
        </characteristic>
    </service>

    <service uuid="e001">
       <description>Battery status</description>
       <include id="manufacturer" />
      <characteristic uuid="e101" id="xgatt_battery">
          <properties read="true" notify="true" />
          <value type="hex">ABCD</value>
      </characteristic>
    </service>

    <service uuid="00431c4a-a7a4-428b-a96d-d92d43c8c7cf">
        <description>Bluegiga demo service</description>
        <characteristic uuid="f1b41cde-dbf5-4acf-8679-ecb8b4dca6fe">
            <properties read="true" write="true"/>
            <value type="hex">coffee</value>
        </characteristic>
    </service>
</configuration></pre><br /><b>project.xml </b>tell bgbuild what roles played by every xml file.<br /><pre class="brush:xml"><project>
    <gatt in="gatt.xml" />
    <hardware in="hardware.xml" />
    <script in="blink.bgs" />
    <image out="out.hex" />
</project>
Create blink.bgs
I will explain detail on blink.bgs later. Copy following code and paste to blink.bgs
dim flag
dim interval

# Boot event listener
event system_boot(major ,minor ,patch ,build ,ll_version ,protocol_version ,hw)
 flag = 0
 interval = $8000

 # Configure the P0_0 as output
 call hardware_io_port_config_direction(0, 1)
 # Enable P0_0 pin
 call hardware_io_port_write(0, 1, 1)
 # Start a 5 second, one stop timer
 call hardware_set_soft_timer(interval, 0 ,1)
end

# Timer event listener
event hardware_soft_timer(handle)

  #declare hardware_set_soft_timer to allow it work as forever loop as recursive

 if flag = 0 then
 # When timer expires disable P0_0 pin
 call hardware_io_port_write(0, 1, 0)
 call hardware_set_soft_timer(interval, 0 ,1)
 flag = 1
  else
 # When timer expires enable P0_0 pin
 call hardware_io_port_write(0, 1, 1)
 call hardware_set_soft_timer(interval, 0 ,1)
 flag = 0
 end if
end
Debug with bgbuild.exe
bgbuild.exe can be found at {ble_directory} -> bin directory.
Open command prompt and go to blink directory that created at beginning of this article, and run following command.
C:\Bluegiga\ble-1.2.1-91\bin\bgbuild.exe project.xml
Replace {ble_directory} to your own path. You should get the result look as below.

Then, binary file out.hex is generated. It is the file we needed to flash into ble112.
BLE SW update tool
Bluegiga prepared a flash tool called Bluegiga BLE SW Update tool. This tool can be found at BleUpdate directory, it is placed at different place with bgbuild.exe.
Click Refresh and Info to choose the debugger. Then click browse to the out.hex that generated at last section inside blink directory.
Then click update and it will write the binary file into ble112.
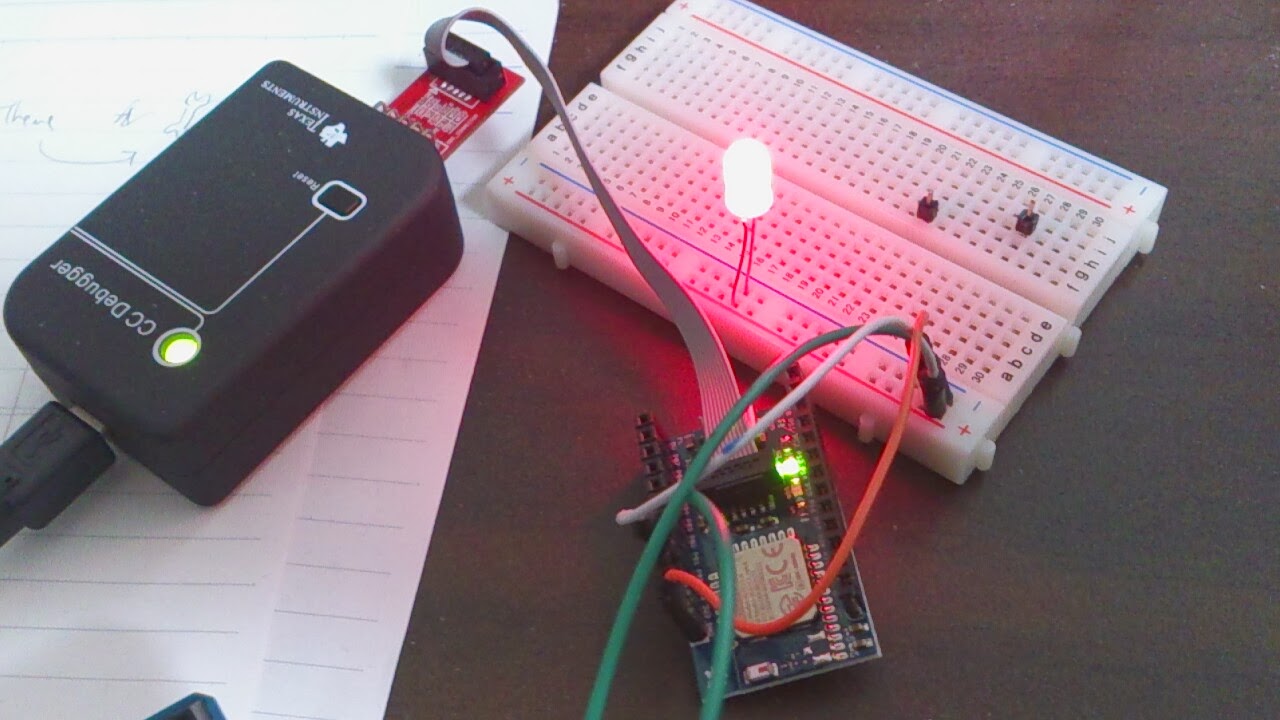
Last job
Connect LED to P0_0 pin. Then you will see LED blink at every 1 seconds.
Explaination on blink.bgs
event system_boot is something like int main() in c language. It is always the first part to be executed after global variables.
dim is used to declare variable. Usually, it means int or char in c language.
$ mark in bgscript used to declared the following number is hexadecimal. In this case, interval = $8000 is same as interval = 0x8000 in c language. Following equation is used to calculate the time for timer. Based on the equation below, clock of ble112 is 32.768kHz, in order to set 1 seconds, interval needed to be set to 32768 ( 8000 in hexdecimal ).

You might reliased that there is not for or while loop in my script. How can I achieve forever loop? The answer is recursive between hardware_set_soft_timer and hardware_soft_timer.
There is no built in delay event so recursive method is the only way to do forever loop.
hardware_set_soft_timer set the timer start and hardware_soft_timer is the handler event after the time specified in 1st parameter of hardware_set_soft_timer is passed.
By adding hardware_set_soft_timer into hardware_soft_timer, the timer will started again when timer is stop.
End
Thank you for reading.

Hello, thank you very much for this tutorial. I have a question, this “project.xml” file is a empty file?
LikeLike
mmm ok…maybe this “project.xml” file begin in the line number 49 of gatt.xml file? exactly after “”. Please help me, 😀
LikeLike
Same problem.. there is no project.xml file.
LikeLike